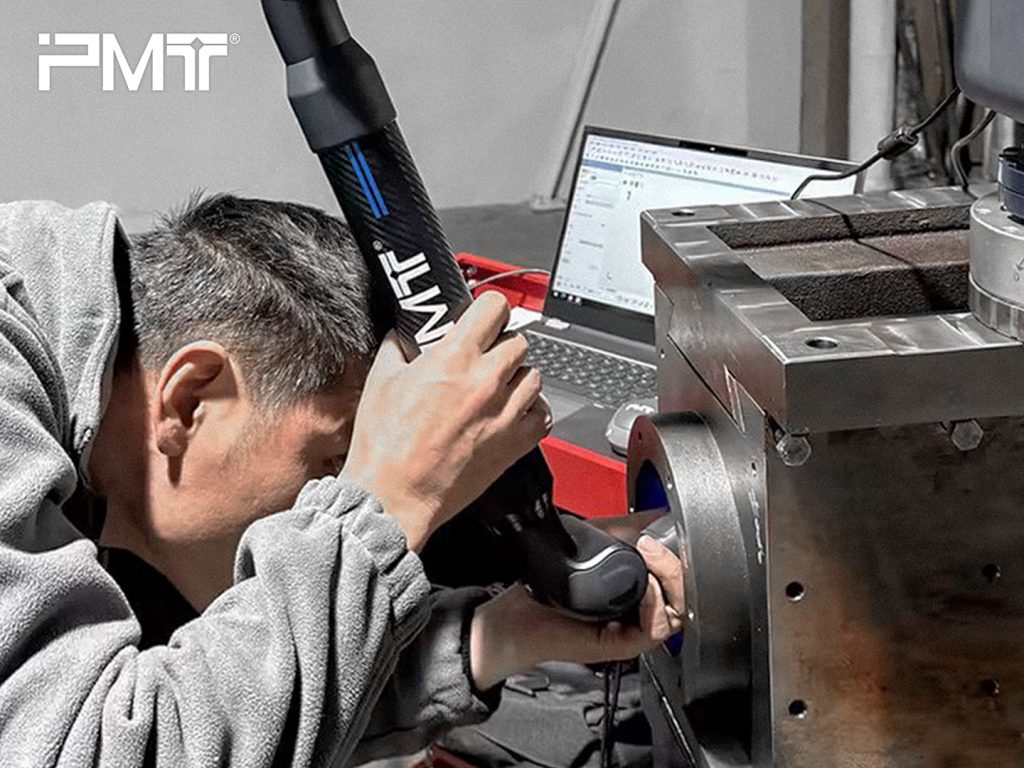
In the machine tool industry, grinding spindles are typically heavy and produced in large batches. Common inspection tasks include coaxiality of inner bores, perpendicularity between bore axes and flange faces, and parallelism relative to mounting surfaces.
In this scenario, PMT portable measuring arms demonstrate clear advantages. During deep bore inspection, the portable CMM supports stable contact measurement. For larger or deeper holes, extended probe options allow the measuring arm to reach the bottom of the bore without complex setup.
In addition, the portable measuring arm can be mounted directly on the spindle using magnetic bases, eliminating the need for additional fixtures. With batch inspection functions in PMT INSPECT software, all parts are measured using the same program, ensuring consistent evaluation standards and reducing operator influence.

Aerospace fixtures are designed to support large wing structures while preventing surface damage. The key inspection requirement is verifying the accuracy of complex contact surfaces.
Here, portability becomes a decisive advantage. PMT portable measuring arms adapt easily to large fixtures on site. Using point-based alignment methods, the portable CMM can align the physical fixture with the CAD model even when clear geometric features are limited.
After initial alignment, additional surface points are collected to improve matching accuracy. The software’s best-fit function automatically calculates optimal alignment results, providing reliable surface deviation data. Automatic point collection further ensures uniform point distribution and repeatable inspection results.
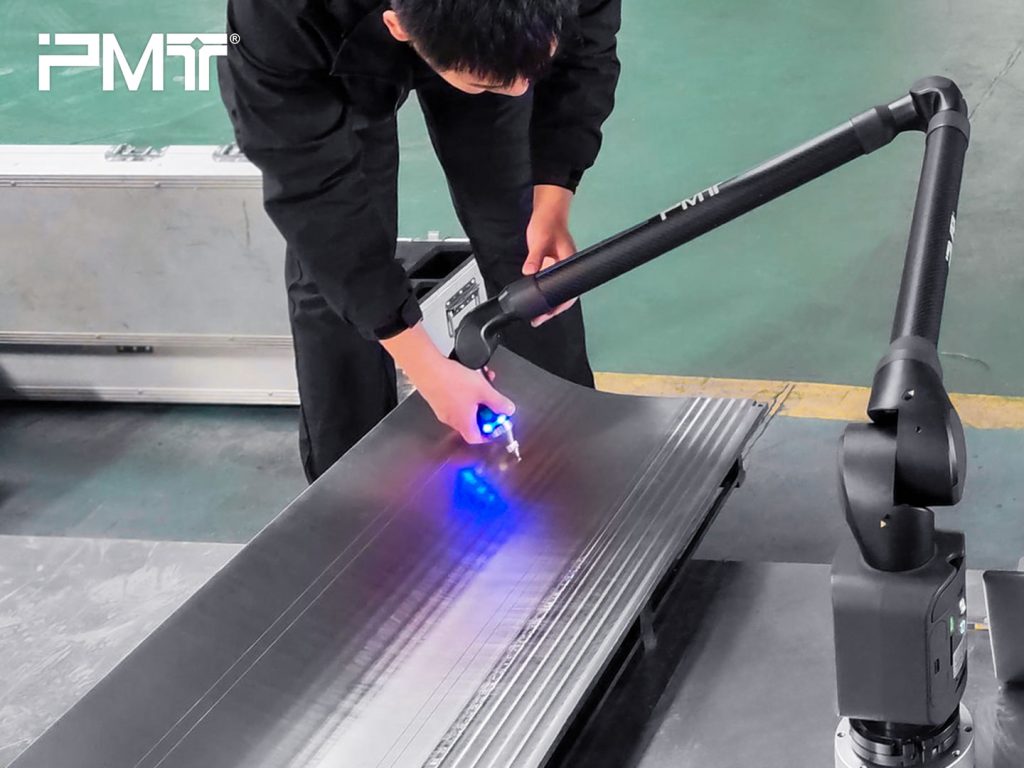
Construction machinery components are often large, welded, and geometrically complex. Many weld areas are difficult to access, making traditional inspection methods inefficient.
In this case, PMT portable measuring arms provide a flexible inspection solution. Their lightweight carbon fiber structure allows operators to reach inside cavities, around weld seams, and into narrow spaces. The portable CMM can be easily moved between workstations, supporting continuous inspection across the shop floor.
By accurately measuring hole sizes, hole distances, profiles, and weld positions, manufacturers can verify tolerances against drawings efficiently and reliably.
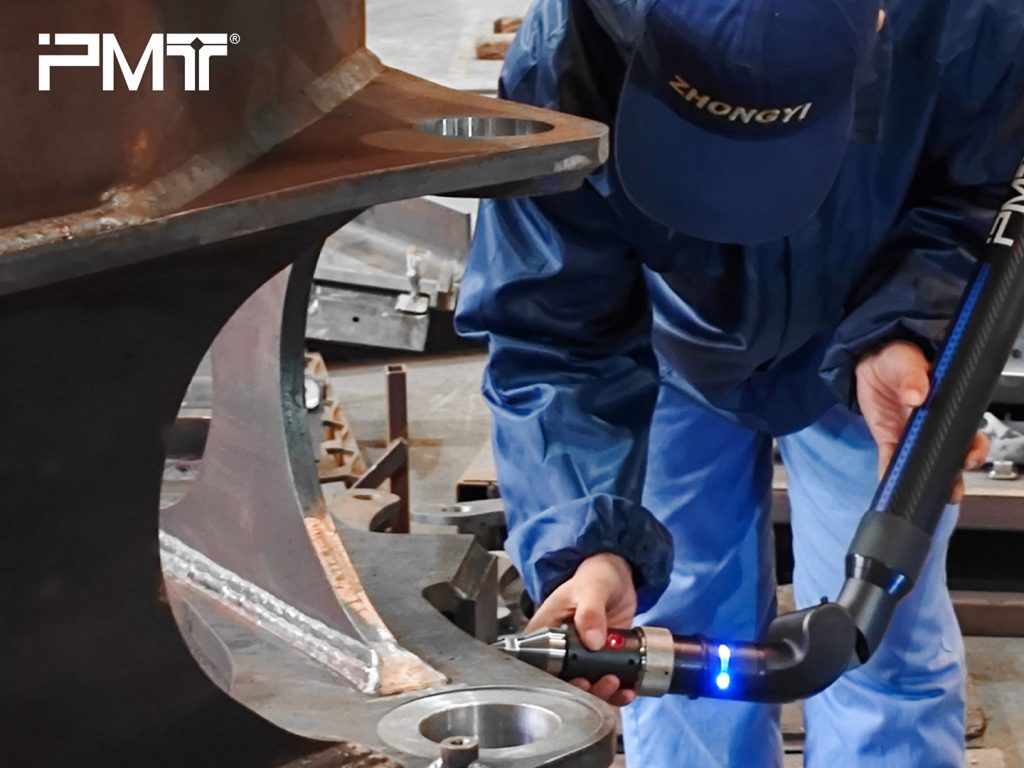
For large components such as excavator booms, key inspection tasks focus on the geometric accuracy of transmission joints, including coaxiality, parallelism, and spatial distances between bearings.
PMT portable measuring arms handle these requirements with flexible articulation, allowing accurate point collection inside bearing bores. To cover extra-large measurement spans, standard reference spheres can be used for coordinate bridging, effectively extending the measurement range of a single portable CMM.
This approach allows manufacturers to complete large-scale measurements without changing equipment.
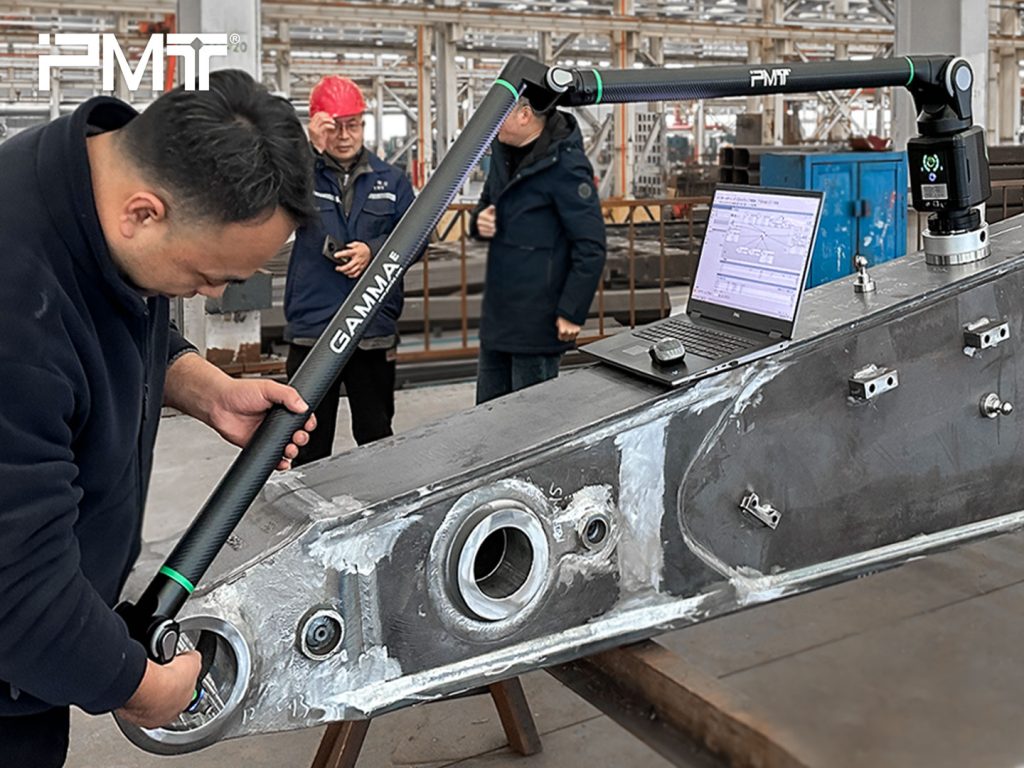
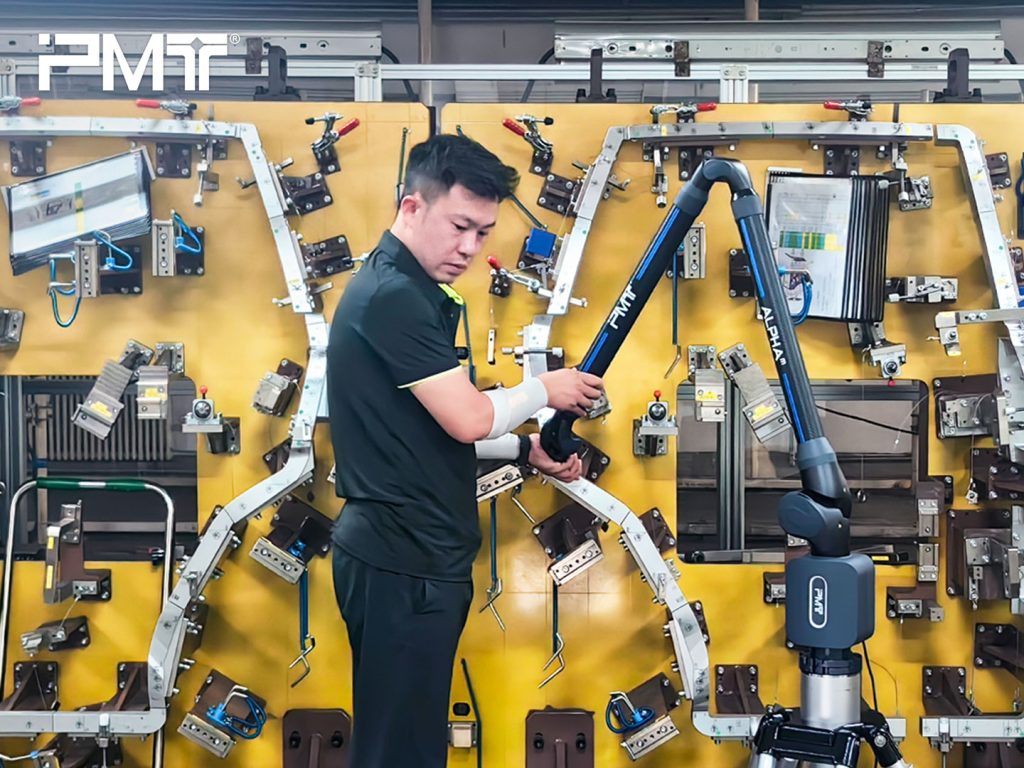
In automotive inspection, fixed CMMs are commonly used. However, when checking fixtures must remain in a vertical position, Z-axis travel limits can restrict measurement.
In such cases, PMT portable measuring arms serve as an ideal complement. Mounted on a mobile tripod, the portable CMM can reach elevated features without moving the fixture. Flexible alignment methods support different datum systems, while real-time measurement enables “adjust and measure” operations during fixture setup.
Once adjustment is complete, final inspection data can be generated immediately, improving setup efficiency and ensuring delivery quality.
Medical device manufacturing is characterized by small batch sizes, frequent design changes, and strict quality requirements. PMT portable measuring arms are well suited to this environment.
Thanks to their mobility, portable CMM systems support in-place inspection and in-machine measurement, reducing errors caused by repeated handling. For delicate components, non-contact measurement options help protect sensitive surfaces.
From a cost perspective, portable measuring arms do not require a dedicated metrology room. One system can support multiple production lines, making it a practical and economical solution for medical manufacturers.
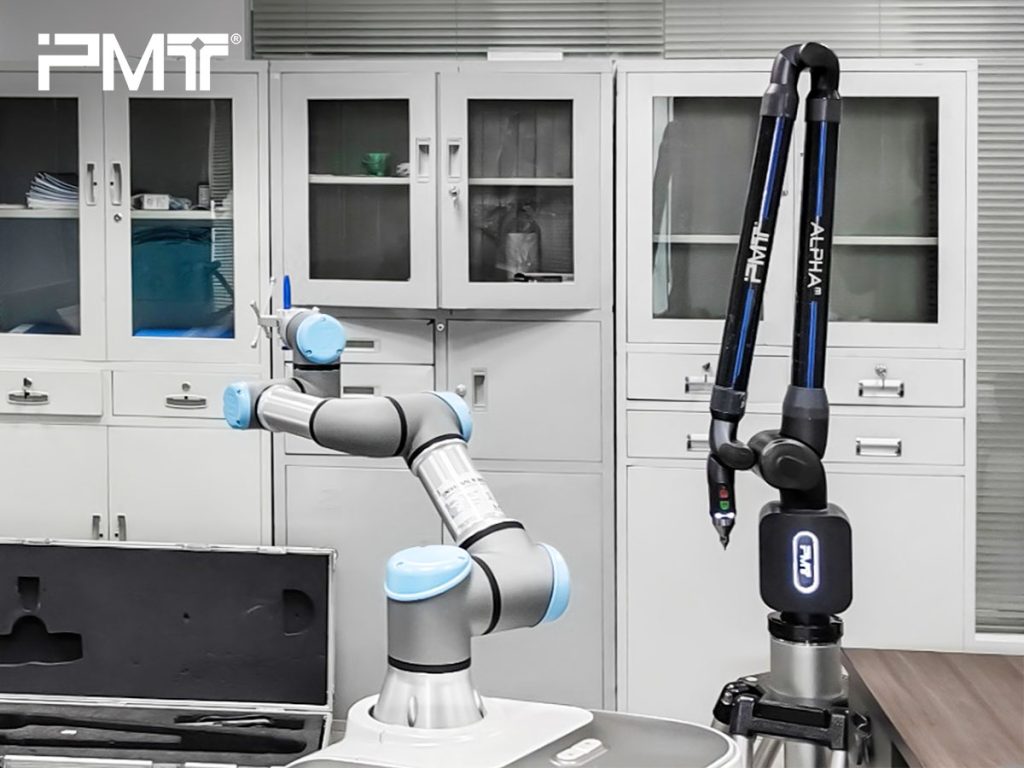
By focusing on portability, PMT portable measuring arms change how measurement is applied in manufacturing. Measurement moves from the laboratory to the shop floor, from delayed feedback to real-time response, and from a cost-driven task to a value-creating process.
Across industries—from machine tools and aerospace to automotive, construction machinery, and medical manufacturing—PMT portable CMM solutions help manufacturers solve real measurement challenges with practical and reliable technology.
Learn how PMT portable measuring arm solutions can bring precision directly to your production site. Contact PMT to find the right portable CMM for your application.