


In modern manufacturing, precise inspection of large-scale and complex parts is crucial for quality control and production efficiency. Coordinate measuring machines (CMMs) are essential tools for achieving this precision. However, most traditional precision measuring equipment faces range limitations, especially when dealing with large parts. Portable measuring arms, known for their flexibility and versatility, overcome these limitations using the leapfrog, which extends the arm’s reach and allows for measurements beyond its nominal range.
What Is Leapfrog?
- A part moves during measurement, requiring data correlation before and after the move.
- A part exceeds the machine’s range, requiring segmented measurement.
By using leapfrog, you can effectively extend the working volume of the measuring arm. The arm is relocated between measurement positions, and the data is integrated into one unified coordinate system, which ensures seamless, accurate measurements across multiple positions.
How Does Leapfrog Work?
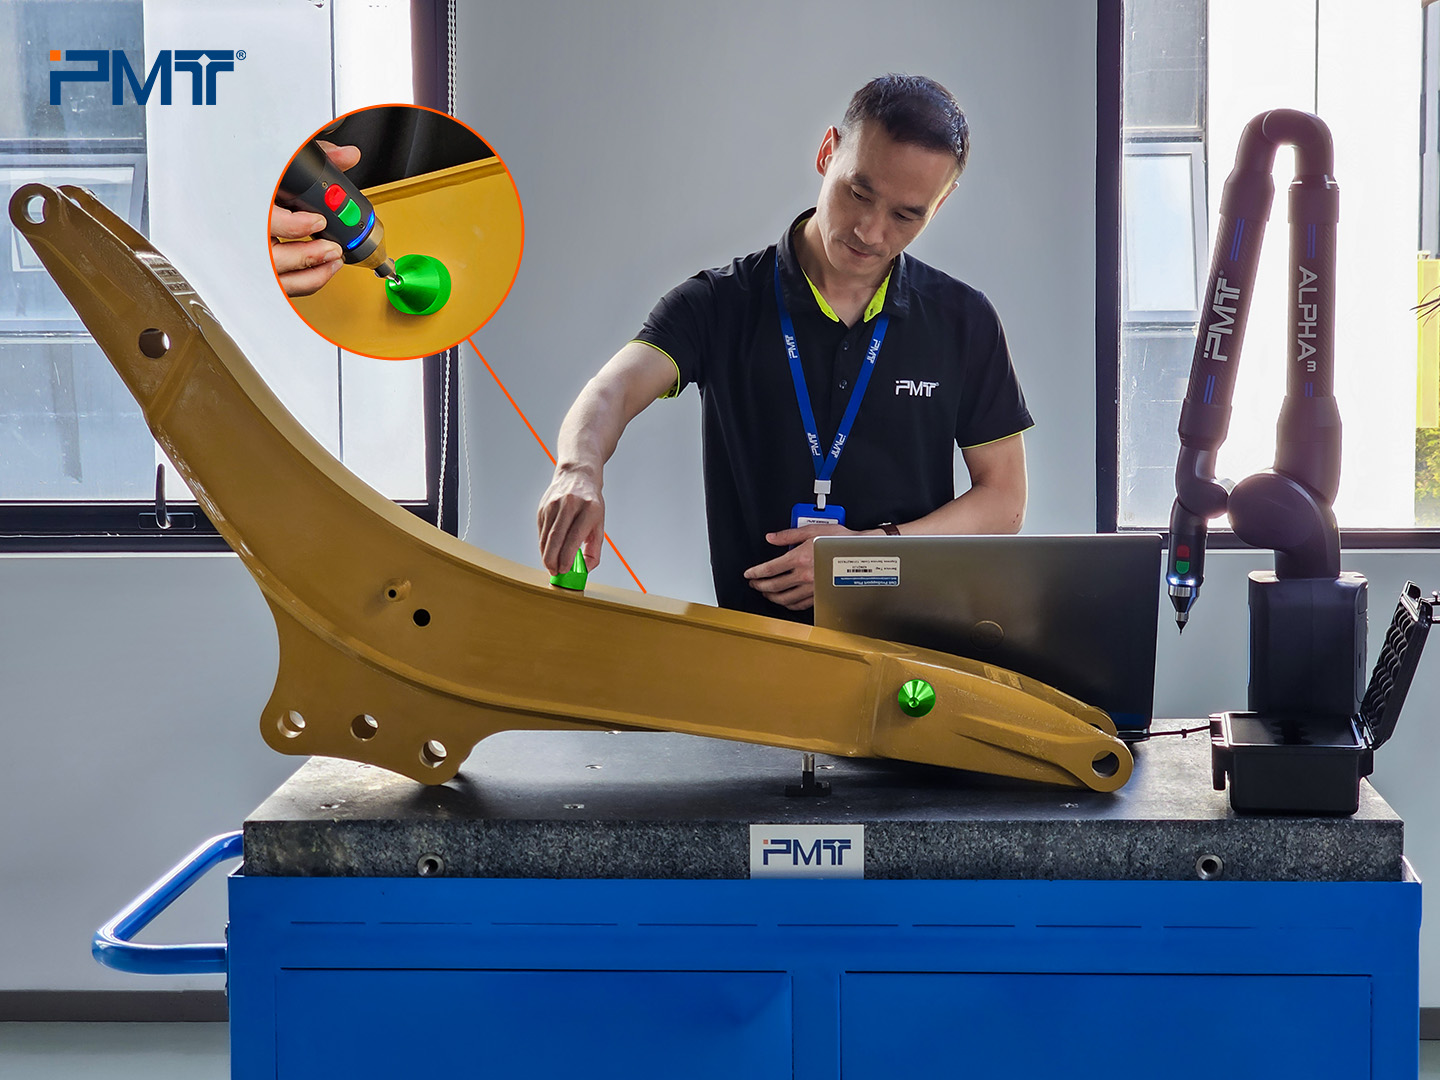
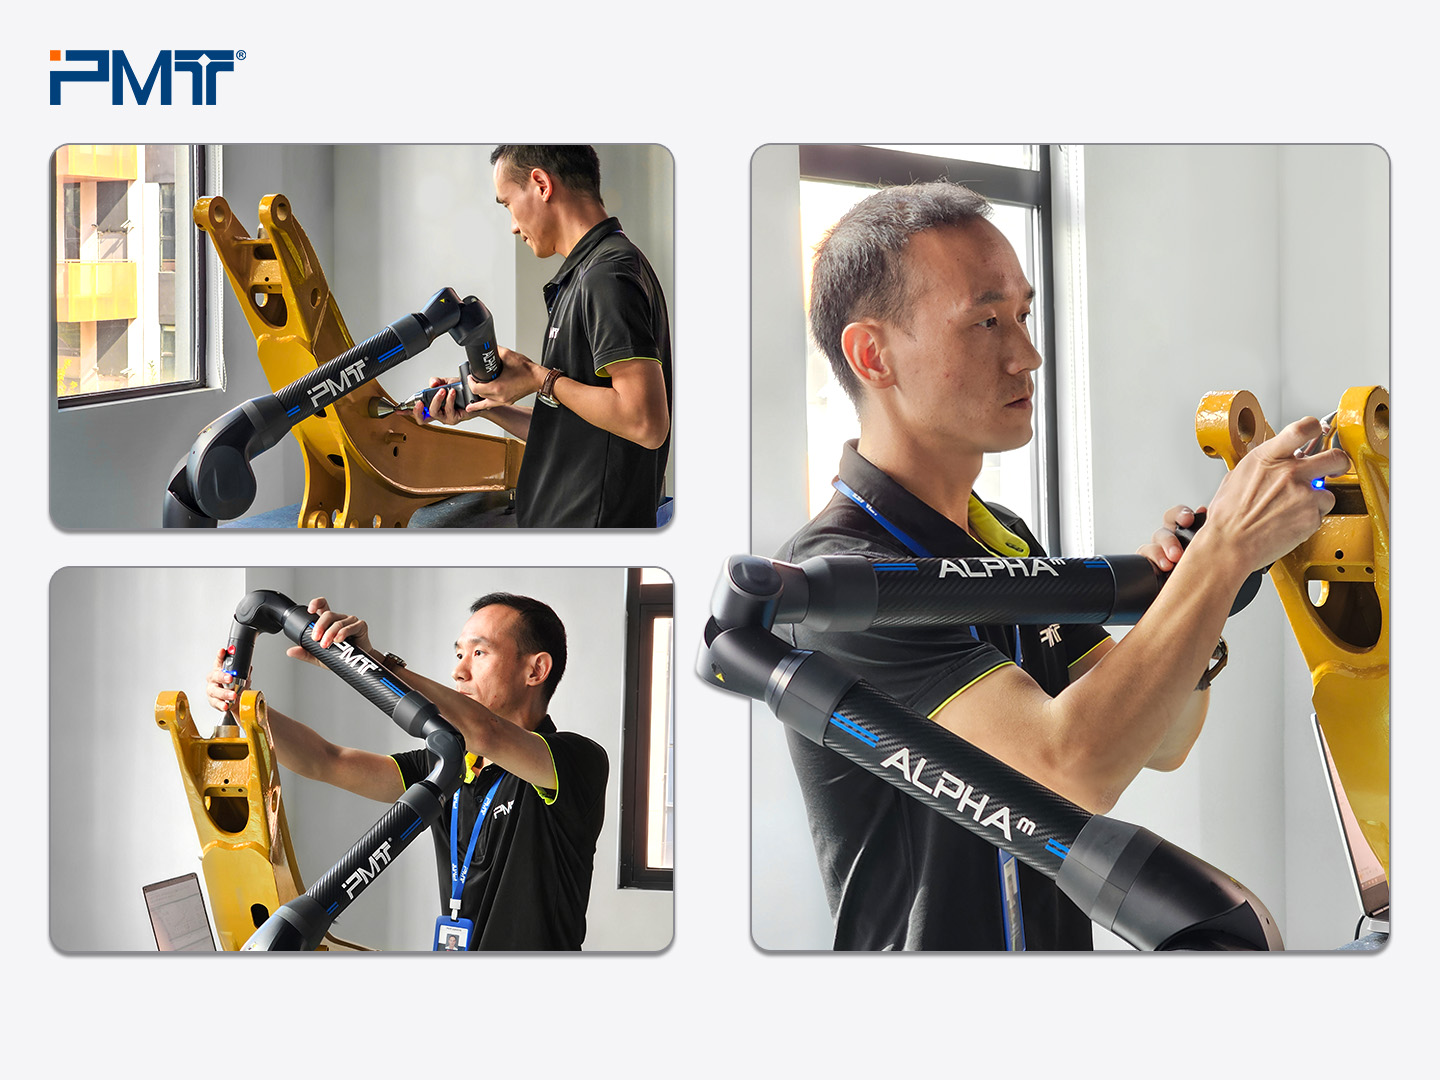
The measuring arm offers great flexibility, enabling measurement in narrow spaces and making it ideal for on-site applications and mass production verification. When combined with leapfrog, the portable arm becomes even more versatile, expanding its operability.
Typical applications include:
- Measuring large molds across different regions.
- Outer contour and assembly measurements of vehicle body structures.
- Inspection of large equipment that cannot be moved during online production.
- Measuring aircraft fuselages and tight spots within equipment.
Step-by-Step: How to Perform Leapfrog Measurement
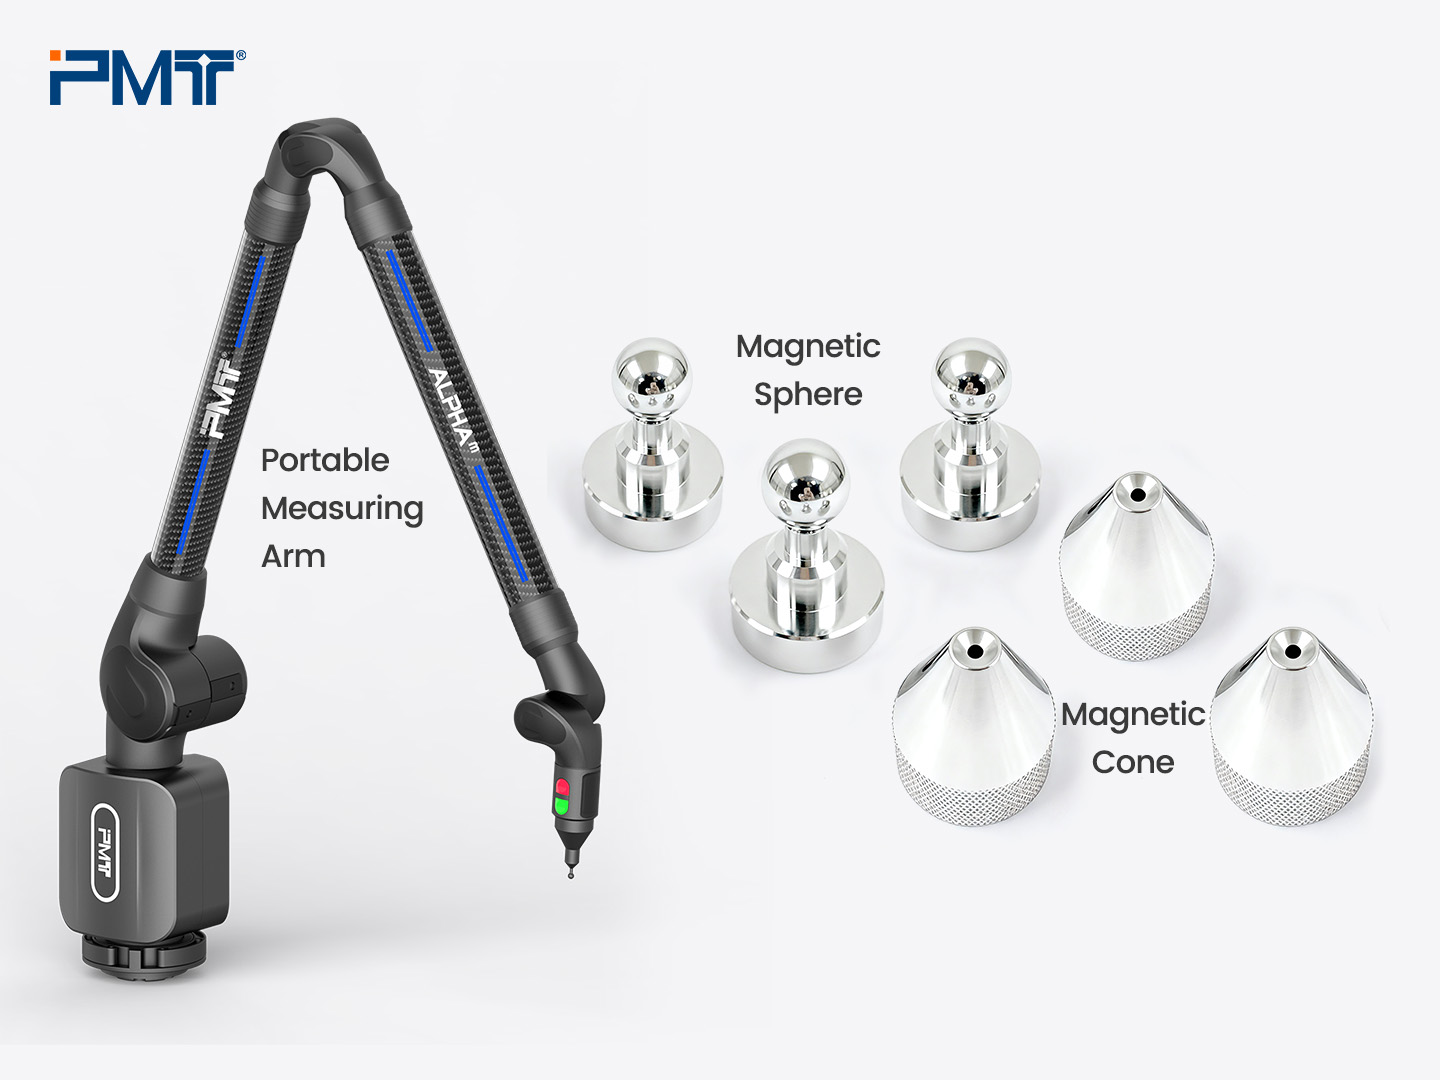
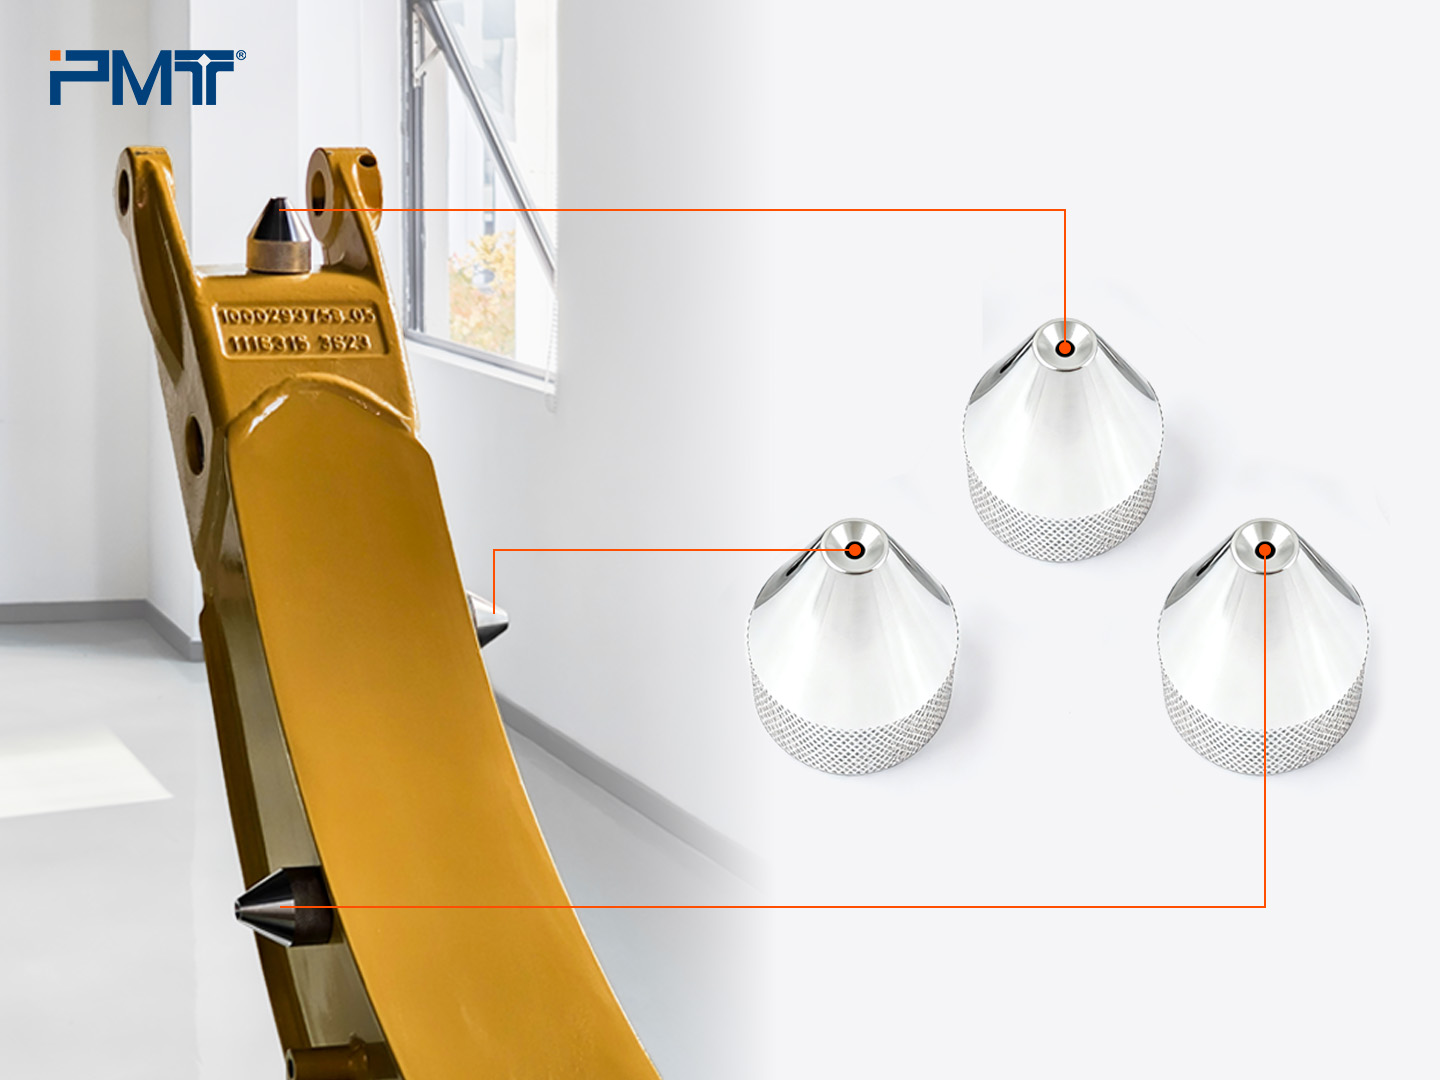
I. Preparation: Setting Up Reference Points
- Mensurability: Points must be measurable from both initial and subsequent positions.
- Dispersibility: Points should be evenly distributed.
- High Precision: Choose points corresponding to high-precision features (e.g., holes, spheres).
- Rigidity: Ensure that cones are firmly fixed.
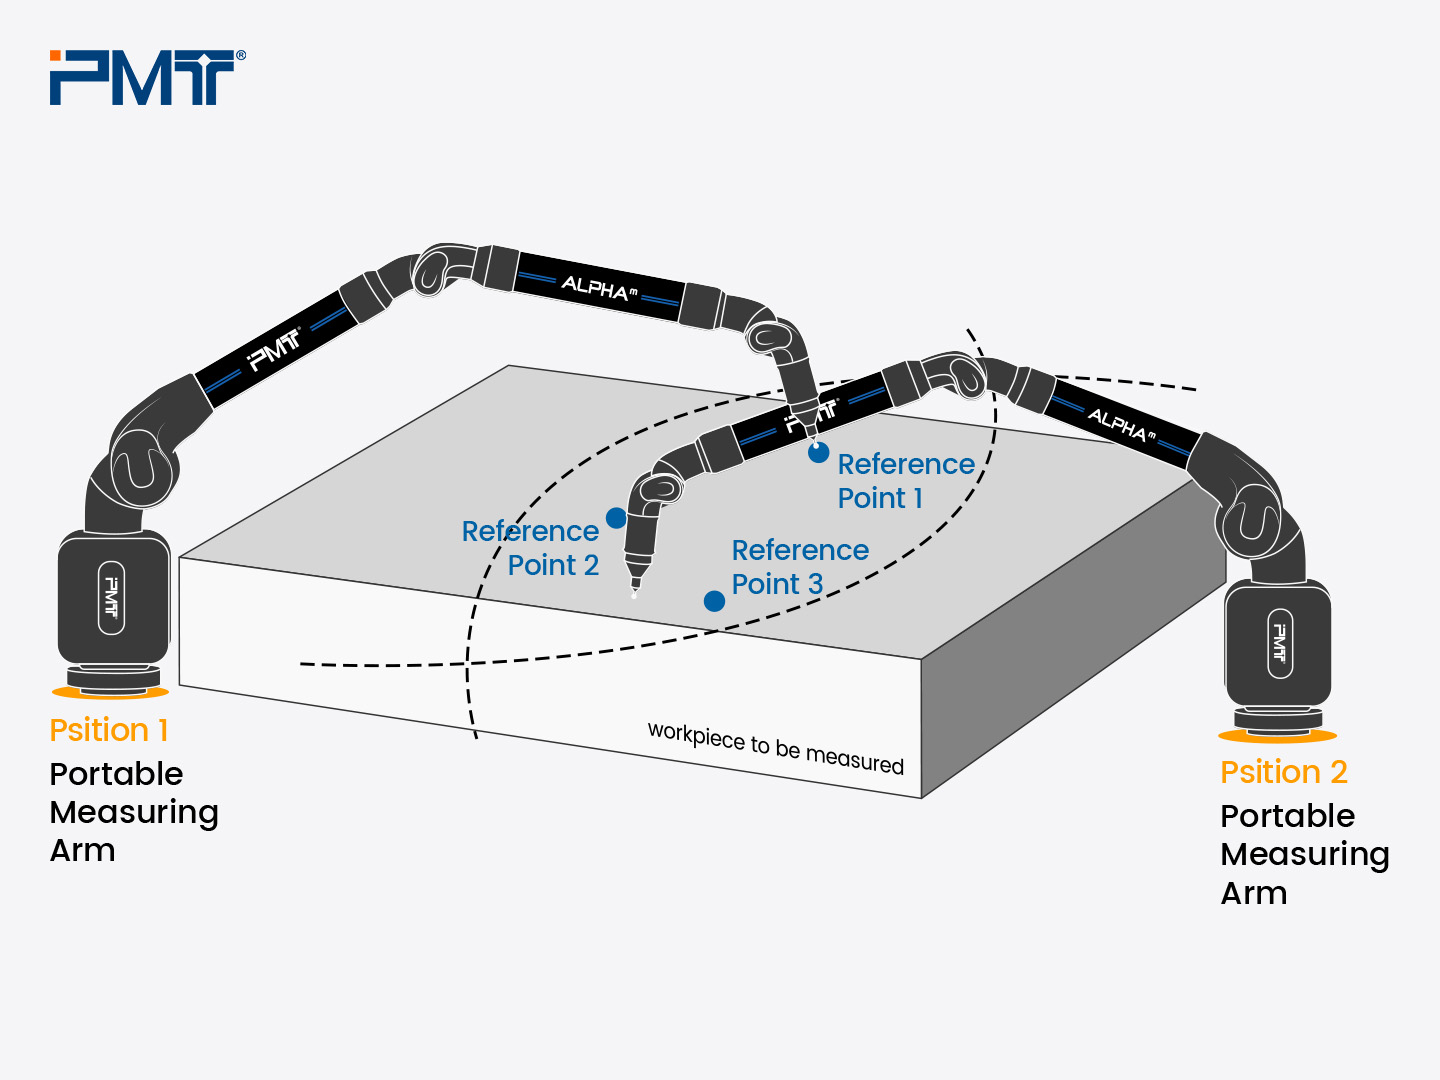
B. Secure the measuring arm at Position 1.
II. Formal Leapfrog Procedure
A. Initial Leapfrog
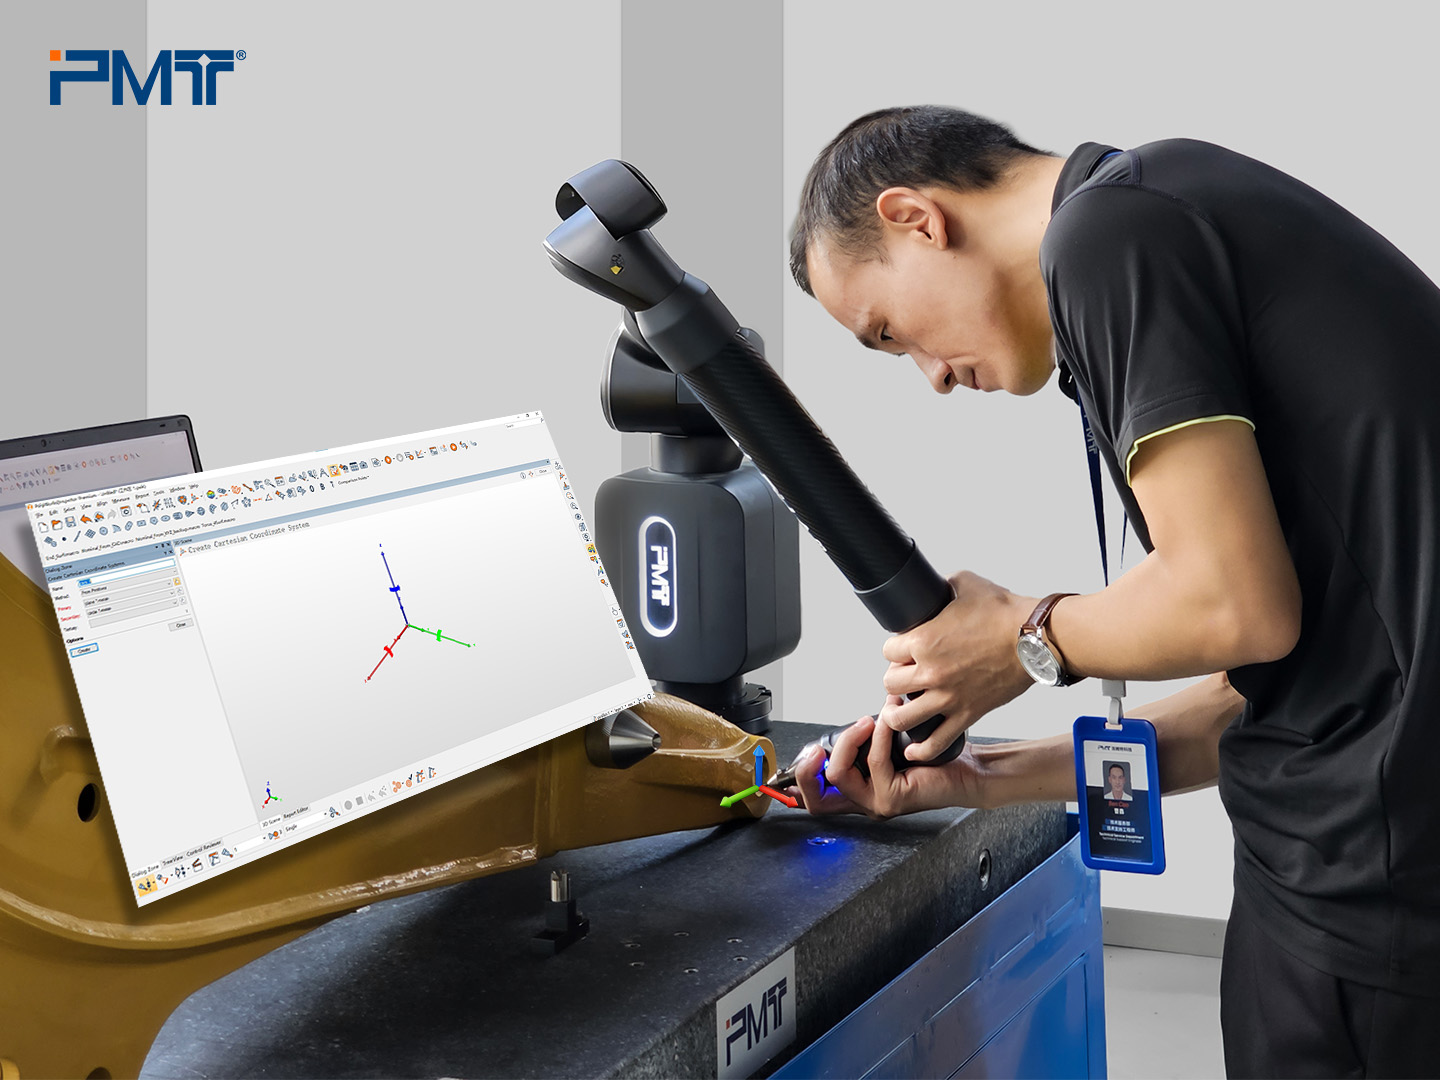
a. Establish the Coordinate System
Using Position 1 as the origin to establish the coordinate system.
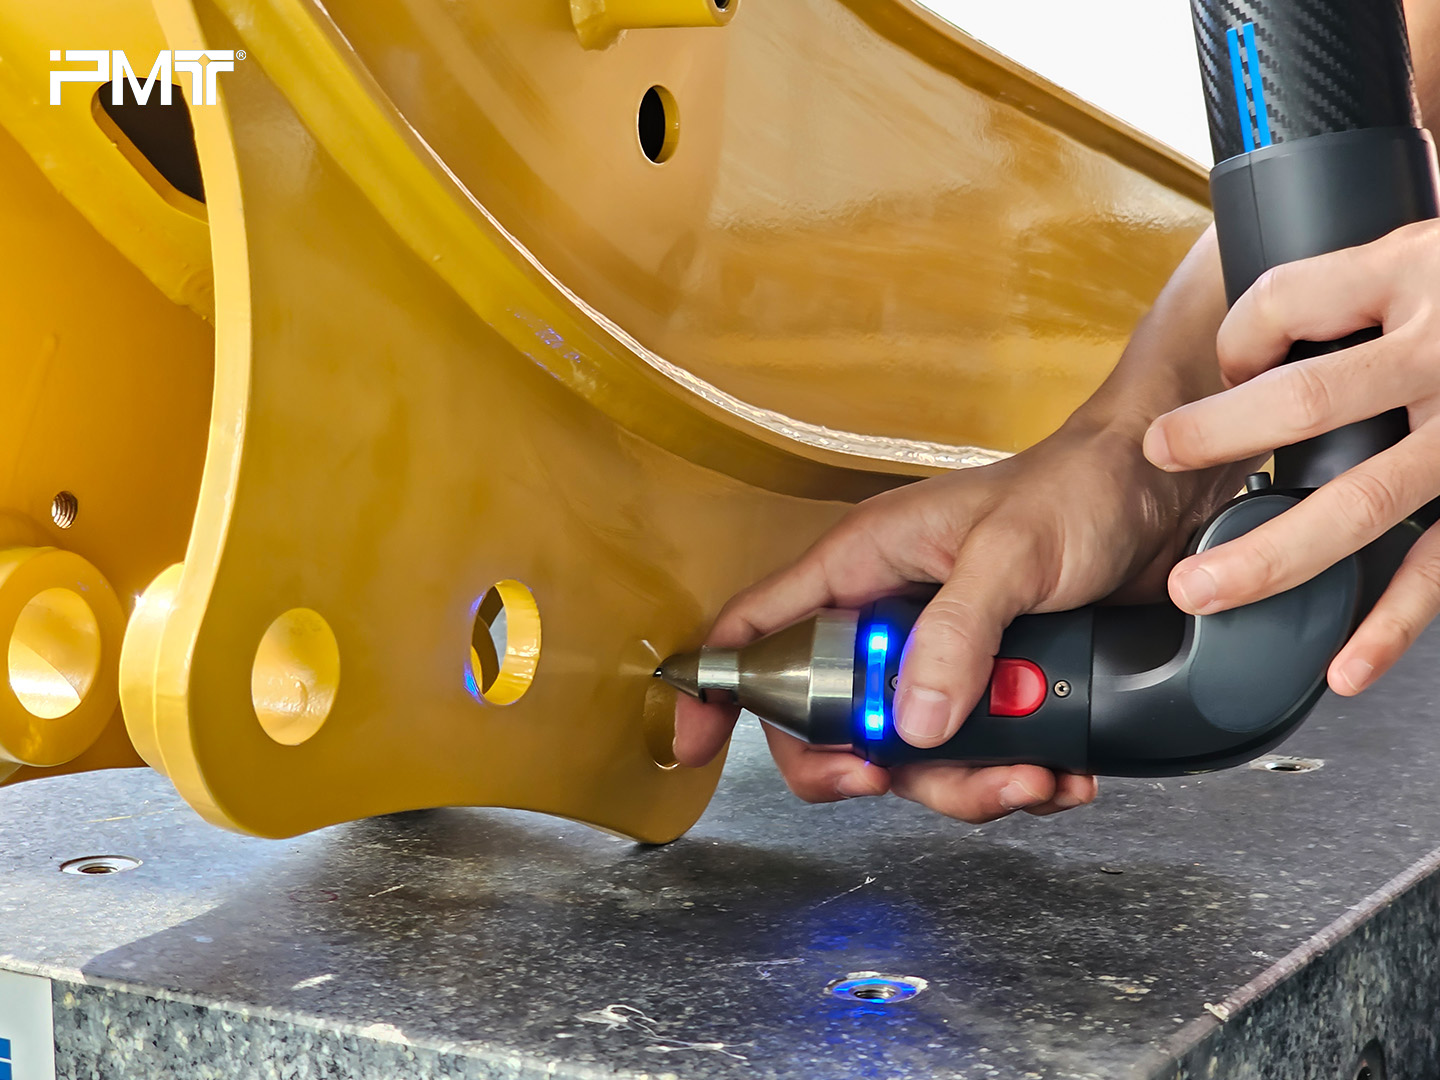
b. Feature Capture
Probe all required features at Position 1.
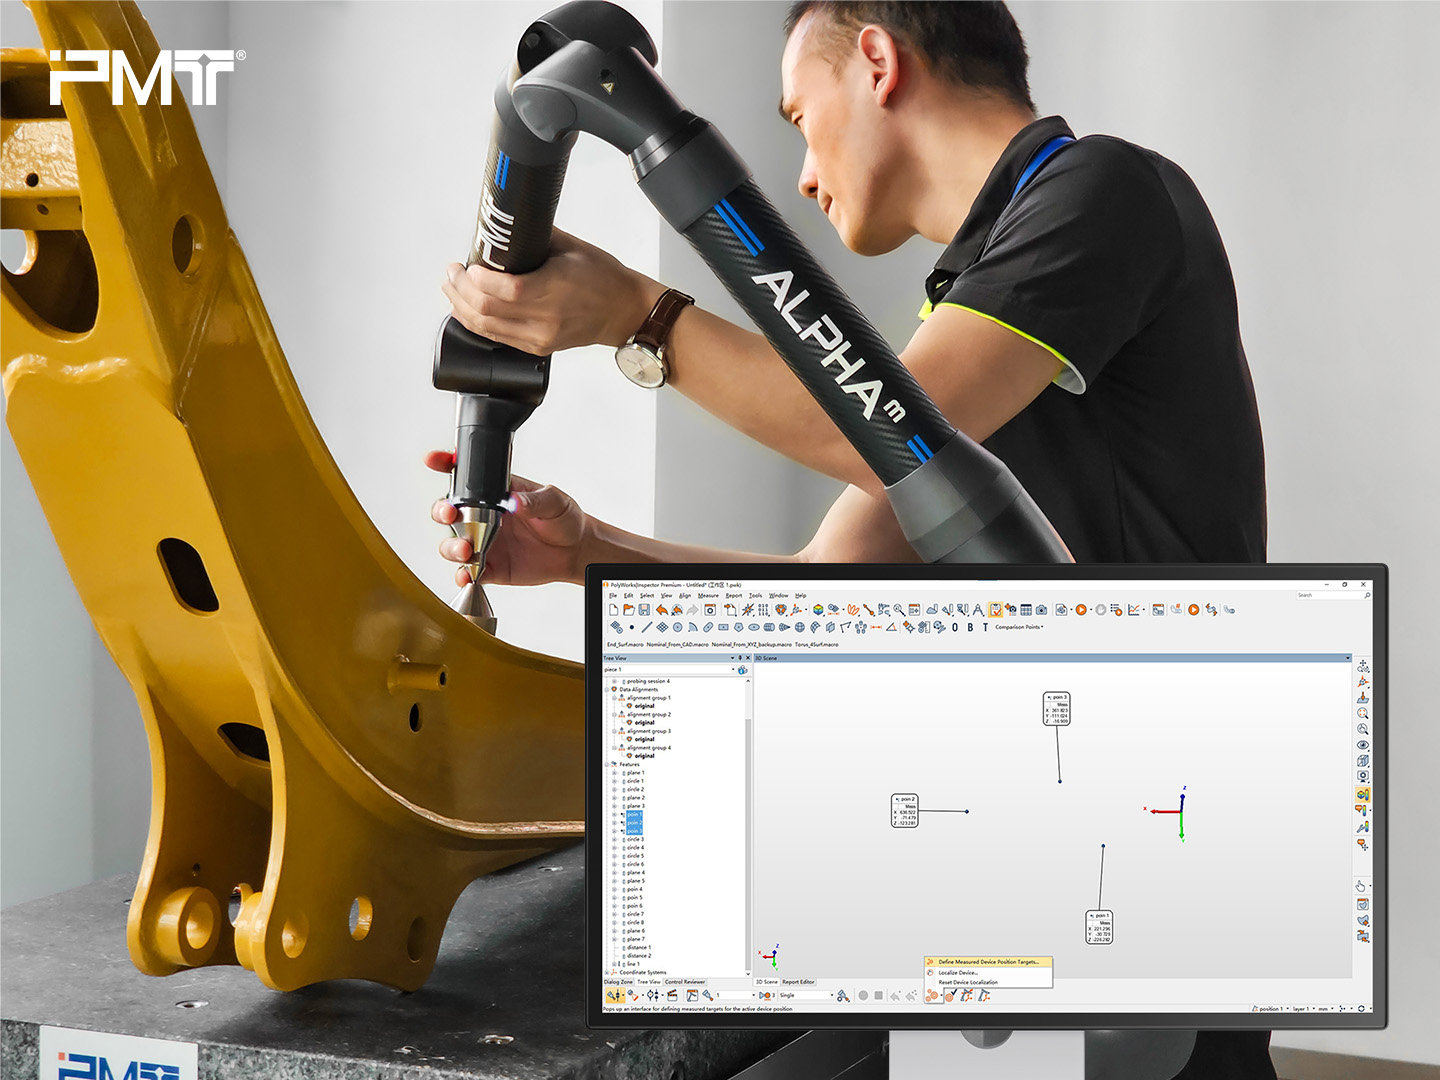
c. Define Position Target
In the software, select “Define Measured Device Position Targets”, then probe Points 1-3. Click “Move Device” to relocate the arm to Position 2 and re-probe the points. The software calculates the leapfrog deviations.
d. Re-check Features
Re-check the features measured at Position 1 and 2. Verify that the feature deviations align with the leapfrog deviations, and perform a GD&T analysis of the features within the Position 2 range. If combined measurements between Position 1 and Position 2 are required, leapfrog can easily facilitate this.
B. Multiple Leapfrog Operations
If a single leapfrog does not capture all required features, such as checking distance or parallelism, repeat the process as needed until all features are measured and the entire part has been inspected.
Why Choose Leapfrog?
- Extended Measurement Range: Allows you to measure larger parts beyond the normal reach of the measuring arm.
- Increased Efficiency: No need for redefining the coordinate system, speeding up the measurement process.
- High Flexibility: Ideal for confined spaces, complex parts, and on-site inspections.
- Cost Savings: Solves range limitations, reducing production costs while maintaining high accuracy.
Conclusion: Using Leapfrog for Efficient Large-Scale Measurements
Leapfrog technology enables portable measuring arms to gather data from multiple positions, enabling “small arm, large part” measurements. While slight accuracy loss may occur, careful planning—taking into account workpiece size, precision requirements, environment, and leapfrog frequency—can minimize errors. By integrating leapfrog with portable arms, enterprises gain an efficient solution for large-scale part measurements, optimizing both precision and workflow.